


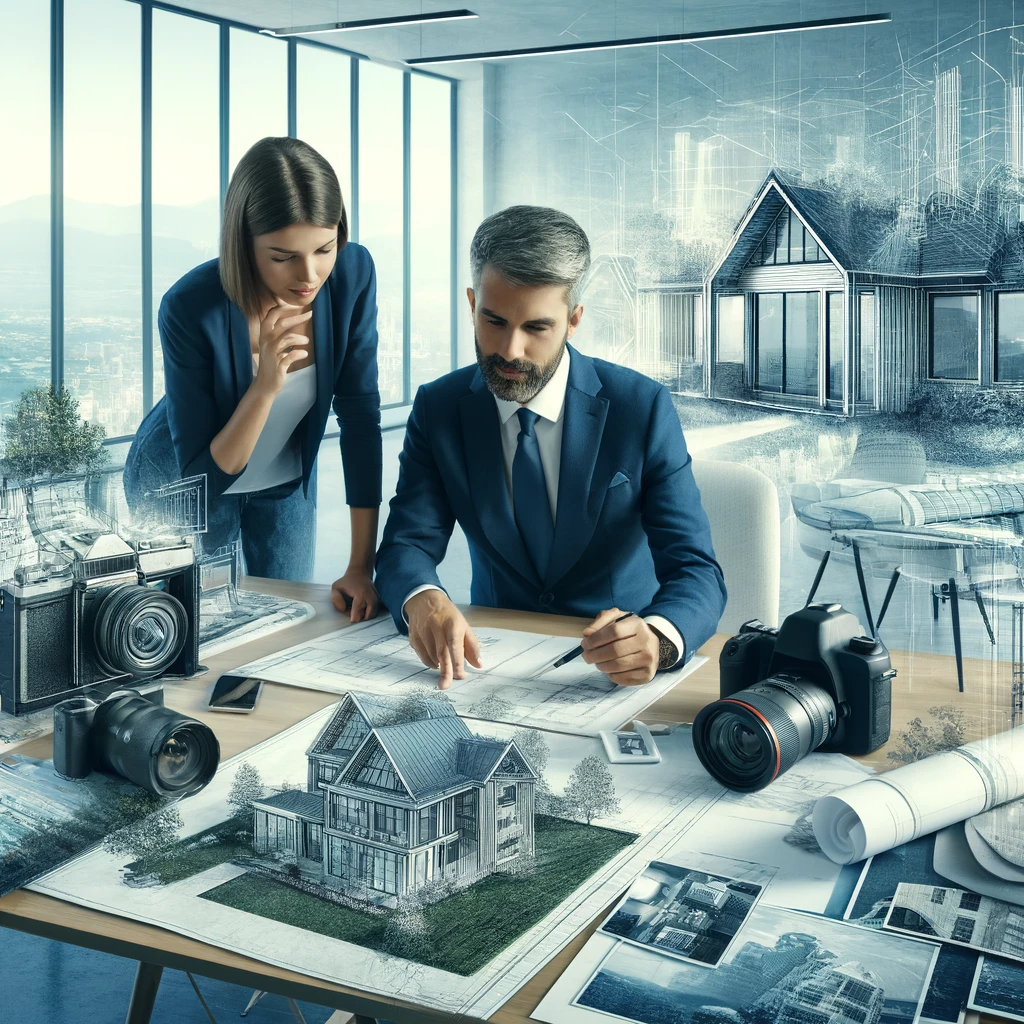
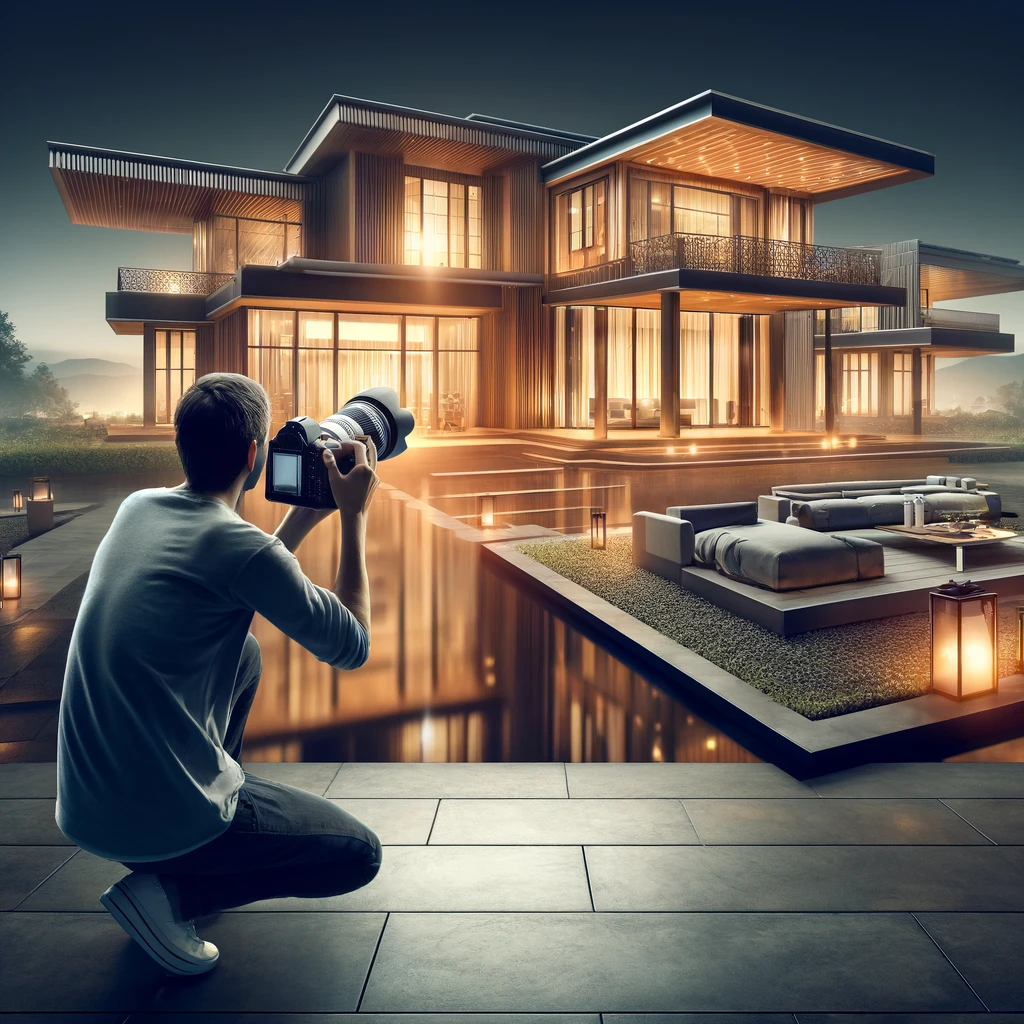
When it comes to selling or showcasing your property, the importance of professional and compelling architectural photography cannot be overstated. A well-executed photo shoot can capture the essence and beauty of your property, making it stand out in the competitive real estate market. However, achieving those picture-perfect shots requires more than just the skills of a talented photographer; it begins with meticulous preparation of the property itself. Preparing your property for an architectural photo shoot is a crucial step that involves a series of thoughtful enhancements and adjustments to ensure that each space is presented in its best light. From decluttering and cleaning to strategic staging and lighting, each action you take can significantly impact the final outcome of the photographs. Whether you’re a homeowner looking to sell, an architect aiming to document your latest project, or a property manager marketing rental spaces, this guide will walk you through the most essential tips and steps to prepare your property for an architectural photo shoot, ensuring that it looks not just photogenic, but truly captivating.
Why Prepare Your Home for an Architectural Photo Shoot?
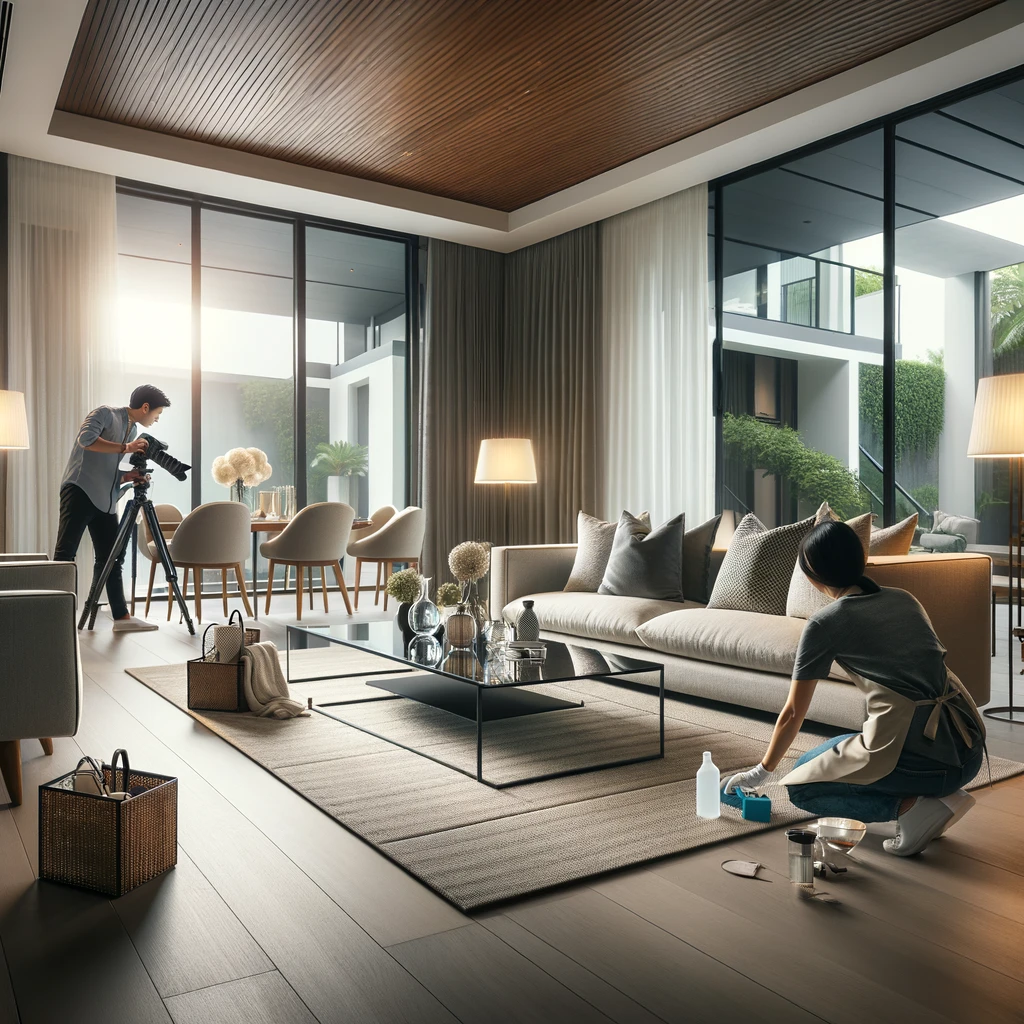
Preparing your home for a real estate photo shoot is crucial in creating a strong first impression to potential buyers. It involves decluttering, cleaning, and staging each room to enhance its appeal. This preparation not only showcases your home’s best features but also minimizes its flaws, attracting potential buyers and potentially speeding up the sale process and increasing the sale price.
Prepare Each Room
Preparing each room and how to prepare your property for an architectural photo shoot is a crucial process that involves more than just a quick tidy-up. It’s about presenting the space in a way that highlights its best features while ensuring that it appeals to the widest possible audience. This meticulous preparation not only enhances the aesthetic appeal of your photos but also communicates the unique value and potential of your property. Here’s how to effectively prepare each room for your upcoming architectural photo shoot:
1. Declutter and Depersonalize
Start by removing any unnecessary items from each room. Clutter can distract from the key features of the space and make rooms appear smaller and less appealing in photos. Personal items like family photos, pet belongings, and personal mementos should also be stored away. The goal is to create a neutral space that allows potential buyers or viewers to imagine themselves living or utilizing the space.
2. Deep Clean
A deep clean is essential. Dust on surfaces, smudges on windows, and stains on fabrics can all be highlighted in photographs, especially with today’s high-resolution cameras. Pay special attention to kitchens and bathrooms, as these areas tend to accumulate the most grime. Sparkling surfaces reflect well on the overall care and maintenance of the property.
3. Optimize Furniture Layout
Evaluate the current layout of furniture in each room. The goal is to showcase the space as open and inviting. You may need to rearrange or even remove pieces of furniture to improve flow or demonstrate the room’s potential. In living areas, create a focal point, such as around a fireplace or a beautiful view. In bedrooms, make sure the bed is neatly made and the area is serene and welcoming.
4. Enhance with Lighting
Lighting plays a pivotal role in architectural photography. Open curtains and blinds to let in as much natural light as possible. Consider turning on all interior lights to add warmth and depth to your photos. Make sure all light sources have matching color temperatures to avoid color casts that could distract from the room’s appeal.
5. Stage Each Room
Staging involves adding decorative elements to each room to make it look more appealing. This could include setting the dining table, adding a vase of fresh flowers, or placing an open book on a coffee table. The key is subtlety; you want to enhance the room without making it feel staged. Aim for a lived-in but polished look that evokes warmth and functionality.
6. Address Minor Repairs
Take the time to fix minor issues such as peeling paint, loose handles, or squeaky doors. These small details can significantly impact the overall impression of the room. A well-maintained room speaks volumes about the care put into the property.
7. Consider Each Room’s Unique Features
Each room might have its unique selling points, such as built-in bookshelves, original hardwood floors, or high ceilings. Make sure these features are clean, unobstructed, and highlighted within the room’s setup. This might mean rearranging furniture or decor to draw attention to these elements.
Lighting Equipment
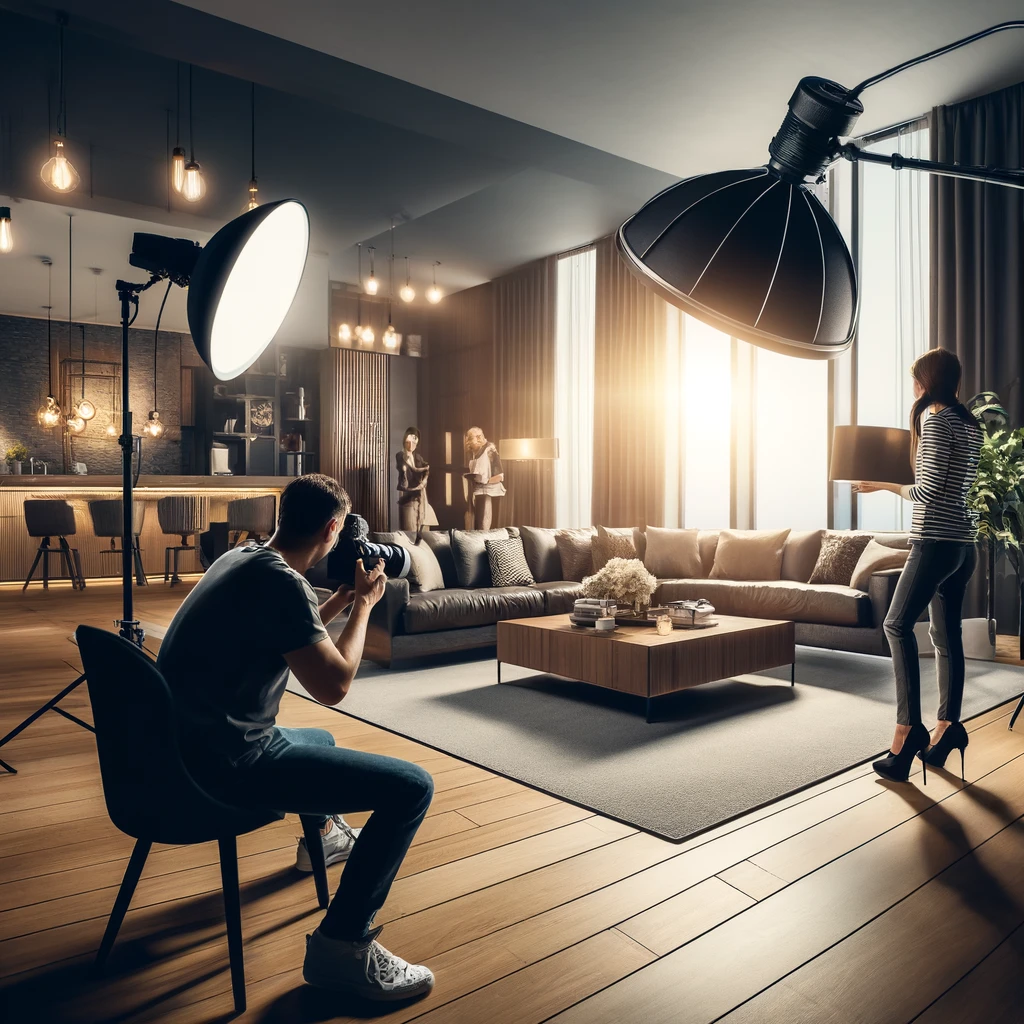
Investing in or renting proper lighting equipment can dramatically improve the quality of your real estate photos. External flashes light bulbs, reflectors, and even continuous lights can help illuminate dark corners, reduce shadows, and highlight the property’s best features.
Shooting Bathrooms
Bathrooms, often one of the smallest rooms in a property, present unique challenges and opportunities in architectural photography. Their compact size, reflective surfaces, and intricate details require a thoughtful approach to capture them in a way that is both flattering and true to their design. Here are strategies and a few tips for shooting bathrooms effectively, ensuring these spaces are presented attractively in your architectural and real estate photography portfolio.

1. Overcome Space Limitations with Lens Choice
The confined space of a bathroom means that your choice of lens is crucial. A wide-angle lens is often necessary to capture the entirety of the room without compromising the composition. However, it’s important to avoid going too wide to prevent distortion, which can unnaturally warp fixtures and fittings. Aim for a lens that provides a realistic representation of the space.
2. Manage Reflections and Mirrors
Bathrooms are full of reflective surfaces, from mirrors to glass shower doors and shiny tiles. Managing these reflections is key to a successful shoot. Position yourself and your camera to avoid capturing your own reflection or that of your equipment in mirrors. Use polarizing filters to minimize reflections on surfaces and ensure the bathroom’s details can be clearly seen.
The Impact of Composition in Architectural Photography
In architectural photography, composition is key to conveying the property’s beauty and design. It involves selecting the right angles, managing lines and symmetry, and deciding what to include or exclude from the frame to tell a compelling story about the space.
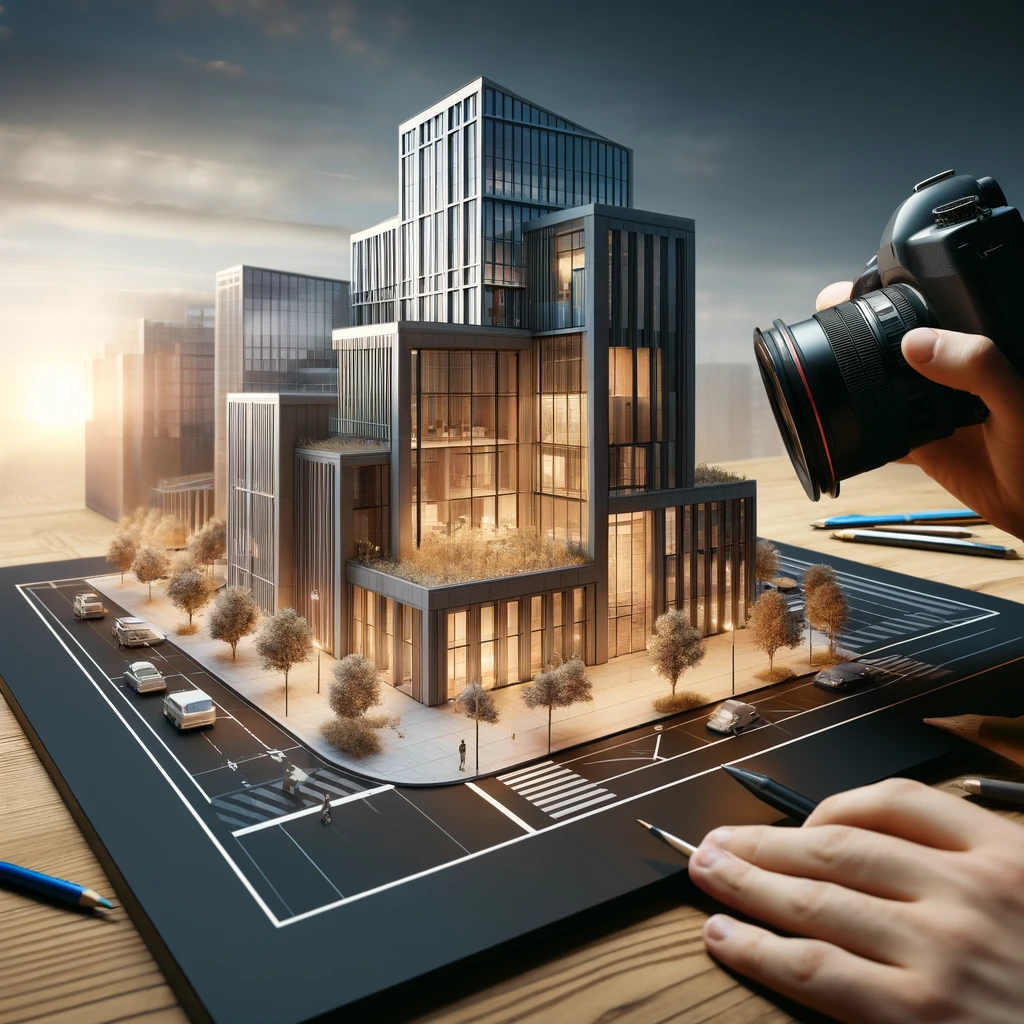
For High-End Properties
Photographing high-end properties is an art form that demands an elevated level of precision, creativity, and understanding of luxury real estate’s unique aspects. These properties are not just spaces; they are experiences, woven together with exquisite details, expansive layouts, and often, breathtaking surroundings. Here’s how to approach architectural photography for high-end properties to ensure the resulting images fully capture their sophistication high quality images and allure.
Equipment Essentials for Real Estate and Architectural Photography
Essential equipment for professional real estate photographer includes a high-quality DSLR or mirrorless camera, wide-angle lenses, tripods, and various lighting tools. These tools help in capturing detailed, well-lit, and perspective-correct images essential for real estate and architectural photography.
Balancing Quantity and Quality of Images for Different Properties
The balance between quantity and high quality photos often depends on the property size and market demands. While quality should never be compromised, larger properties may require more images to fully showcase their features, whereas a smaller home might only need a few high-quality shots.
Enhance Curb Appeal
Enhancing curb appeal involves landscaping, exterior cleaning, and staging outdoor spaces to attract potential buyers. This preparation makes a significant difference in photographs, attracting more potential buyers and setting a positive tone before they even step inside.
Understanding Your Client’s Needs
Understanding how real estate agents of the client’s needs is crucial in real estate photography. This includes knowing the property’s key selling points, the target buyer demographic, and any specific requests from the homeowner or real estate agent.
Accommodating Your Client’s Preferences in Property Photography
Flexibility in accommodating client preferences, whether it’s about the time of day, specific features to highlight, or styling directions, can lead to more satisfied clients and repeat business.
Proper Lighting is Crucial in Real Estate Photography
Proper lighting can transform a space, making it look welcoming and spacious. It involves a mix of natural and artificial lighting to enhance textures, colors, and space dimensions.
Mastering Wide-Angle Shots
Wide-angle shots are fundamental in real estate photography as they capture more of the room and make spaces appear larger. However, it’s important to use this technique wisely to make detail shots avoid distortion and misleading representations.
Adapting Photography Techniques based on Property Size and Value
Photography techniques should be adapted based on the property’s size and value. Larger, more expensive properties might require aerial photography or twilight shots, while a cozy, average-sized home might benefit from warm, inviting interior shots.
Prepping the Property for the Photoshoot

Prepping involves cleaning, decluttering, and staging the property. It might also include minor repairs or touch-ups to present the property’s exterior and in its best condition.
1. Plan the Shoot
- Assess the Property: Walk through the property to identify its key features and any areas that need extra attention. Make note of the rooms and angles that will photograph best based on their size, layout, and natural light.
- Check the Weather: Natural light is a photographer’s best tool. Plan the shoot for a day with optimal weather conditions to ensure the property can be shown in the best possible light.
2. Exterior Preparation
- Landscaping: Trim bushes, mow the lawn, and remove any dead plants or trees. Ensure the garden and any outdoor areas are neat and tidy.
- Clean the Facade: Power wash the exterior walls, clean the windows, and make sure the front door looks inviting.
- Declutter: Remove any unnecessary items from the yard, such as garden tools, toys, or debris. Arrange outdoor furniture neatly.
3. Interior Deep Clean
- Spotless Surfaces: Every surface should be dusted, wiped down, and polished. Pay special attention to reflective surfaces like glass and mirrors, which should be streak-free.
- Floors and Carpets: Vacuum carpets and mop floors. Consider a professional cleaning for areas with heavy foot traffic or stains.
- Bathrooms and Kitchens: These areas should be immaculate. Clear countertops, polish fixtures, and ensure appliances shine.
4. Declutter and Depersonalize
- Remove Personal Items: Personal photographs, papers, and toiletries can distract from the property’s features. Store these items out of sight.
- Minimalism is Key: Too much furniture or decor can make spaces feel smaller. Opt for a minimalistic setup that highlights the architecture and space.
5. Stage Each Room
- Purposeful Furniture Placement: Arrange furniture to showcase the flow of the space and demonstrate its potential. Each room should have a clear purpose and layout.
- Accent with Decor: Use neutral, tasteful decorations to add warmth and character to rooms without overwhelming them. A few strategically placed plants, books, or art pieces can make a space feel lived-in and welcoming.
6. Lighting Check
- Test All Light Sources: Ensure all light fixtures work and replace any burnt-out bulbs. Matching the color temperature of the bulbs can create a cohesive light environment.
- Maximize Natural Light: Open all curtains and blinds to let in as much natural light as possible, but be mindful of glare or overly bright spots.
7. Final Walk-Through
- Inspect the Property: Do a final walk-through of the property to ensure every area is photo-ready. Look for any out-of-place items, crooked frames, or uneven curtains.
- Create a Checklist: Having a checklist based on these steps can ensure nothing is overlooked and the property is presented in its best condition.
Seeking Feedback from Clients and Peers
Feedback is invaluable in improving photography skills and client satisfaction. It can provide insights into different perspectives, preferences, and areas for improvement.


[…] Read More: How to Prepare Your Property for an Architectural Photo Shoot […]